
Guide
Why Beer Foams at the Filler When the Tank Looks Fine
Trace beer foaming at the filler from tank to package: temperature, pressure loss, restrictions, turbulence and practical checks.
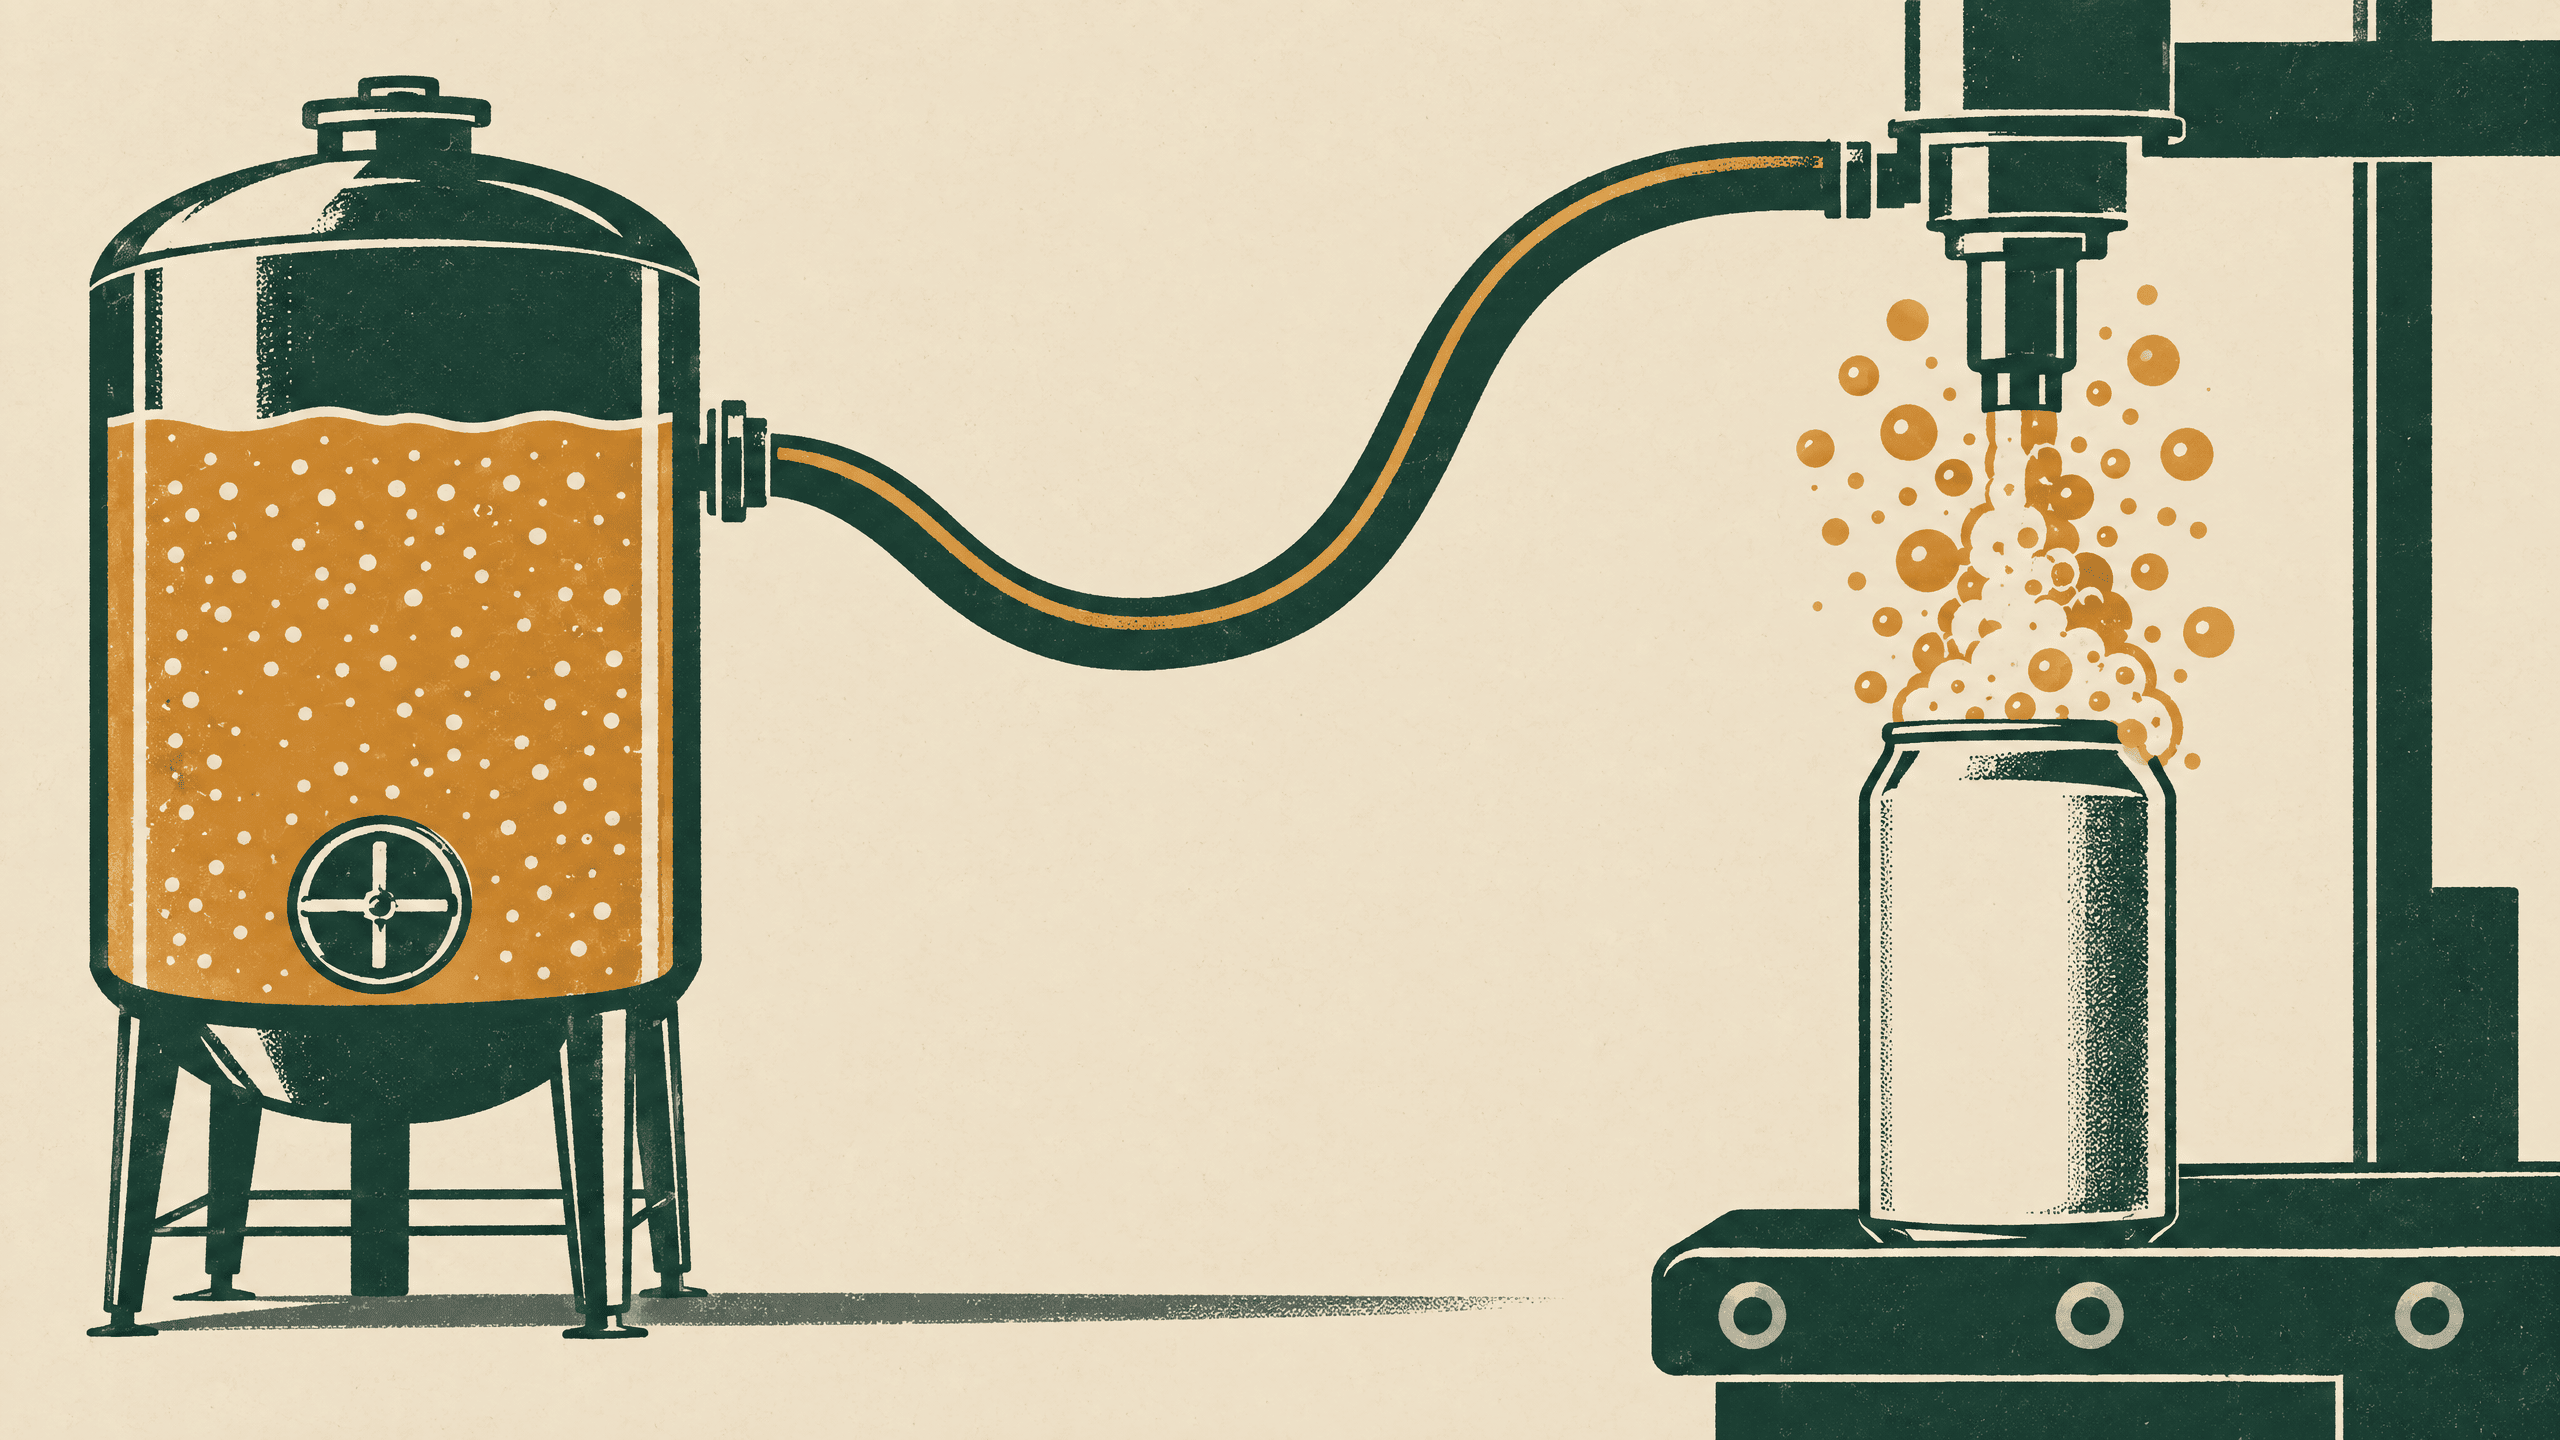
A bright tank can look calm, taste right and still send unruly beer to the filler. That is not a contradiction. In the tank, dissolved CO₂ is supported by the product temperature and the pressure above it. Once beer begins its trip through the packaging path, those conditions can change in small but consequential ways.[1]
The useful question is not simply, “What is wrong with the filler?” It is, “Where does the beer first stop behaving like the beer in the tank?” Following that path turns a frustrating foam problem into a practical diagnosis.
Start with the pressure-and-temperature story
CO₂ remains dissolved in beer according to temperature and pressure. A lower pressure gives it less reason to stay in solution; a warmer product holds less dissolved gas at the same pressure. Brewers Association guidance makes the same point for draught beer: warming between cold storage and the point of dispense can lead to foam, while inadequate applied pressure lets gas break out.[1]
Packaging has its own version of that story. As the tank empties, the headspace grows. If replacement gas does not keep pace, headspace pressure can fall. That shift may be enough to start CO₂ breakout before the beer reaches a filling valve. It is a tank-side cause, but it may only become visible at the filler.[1]
Do not stop at the tank gauge. Liquid height also creates hydrostatic pressure, so the pressure at the tank outlet can change as level falls even when headspace pressure looks steady. A stable number at one point does not prove that every point downstream sees stable conditions.[4]
Temperature deserves the same end-to-end attention. Product can warm in an uninsulated run, a heat-soaked filler bowl, or during a pause. Compare actual product temperature at the tank outlet with the temperature near the filler during normal production, including a stop and restart. The goal is not a universal setpoint; it is a cold, consistent path that matches your own validated packaging conditions.
Look for the first place the line disturbs the beer
A packaging line needs the right balance between driving pressure and the resistance of its tubing and fittings. The Brewers Association describes that balance as the key to protecting carbonation through a beer line.[2] A sharp bend, pinched hose, partly closed valve, fouled component, abrupt diameter change or inappropriate restriction can upset it. These are places to inspect, not settings to guess at.
Restrictions also make flow less gentle. A local pressure change and agitation can give dissolved gas a chance to form bubbles. Bubble growth depends on nucleation sites (small gas cavities or imperfections where CO₂ can collect), so a rough, damaged or contaminated surface can make a sensitive section show its hand first.[3] The filler then receives beer that already carries gas bubbles, rather than a quiet liquid.
That is why the timing matters. Foam only at startup can point toward warm product held in the line. Foam that worsens as the tank level falls raises the pressure-replacement and hydrostatic questions. Foam at one filling head or after one fitting narrows the search toward local flow, temperature or mechanical condition. Treat these as clues, then confirm them with measurements and inspection.
A calm troubleshooting walk-through
Before changing pressures, trace one normal packaging run from tank to package and record what you see.
- Log the sequence. Note product temperature at meaningful points, approved pressure readings, tank level, pauses, foam onset and any short-fill pattern.
- Inspect the route. Check hose routing, clamps, valves, fittings, strainers and filler components for a restriction, sharp turn, damaged surface or evidence of soil. Follow your sanitation, lockout and equipment SOPs.
- Watch a restart. Compare the first packages after a pause with steady-run packages. That separates a heat-hold issue from a problem that develops with tank level or flow.
- Check the measurement. A tank pressure reading is a process condition, not a direct dissolved-CO₂ result. Use a suitable calibrated method and representative sampling procedure to verify actual dissolved CO₂.
Foam is not a dissolved-oxygen diagnosis
Foam tells you that gas is escaping or being made visible; it does not, by itself, identify oxygen pickup. Package oxygen depends on factors such as purging, leaks, package handling and filler design. Keep oxygen checks in the investigation, but do not use foam as the proxy. It can send a team away from the temperature, pressure or restriction that actually needs attention.
Where PacWizz fits, and where it does not
If your records show that replacement gas is the weak link as the tank empties, PacWizz is one way to automate adding gas to the tank headspace during packaging. Its foot setup uses a pressure reading at the tank bottom to decide when to add headspace gas; its arm setup does not compensate for hydrostatic pressure. It can support a steadier tank-side condition, but it does not cool product, measure dissolved CO₂ or repair a warm line, restriction or turbulent filler.[4] If that specific diagnosis fits your process, explore the packaging setup with your qualified team.
The practical takeaway is simple: treat filler foam as a path problem. Protect temperature, understand pressure at the points that matter, remove unwanted restrictions and observe when the first bubbles appear. A quiet transfer gives the filler a far better chance to make a tidy, repeatable package.